
SwitchRoo Update: Production Prep, a New Board Spin and Counting the Cost of Launch
SwitchRoo Update: Production Prep, a New Board Spin and Counting the Cost of Launch
The last update covered Prototype 2 and locking in the launch lineup. This one is less exciting on the surface, but it’s the work that actually makes a product real: building the test jig, working through all the production costs, spinning a new board revision, and chasing down a connector problem on the mmWave variant.
Here’s where things stand.
New About Page
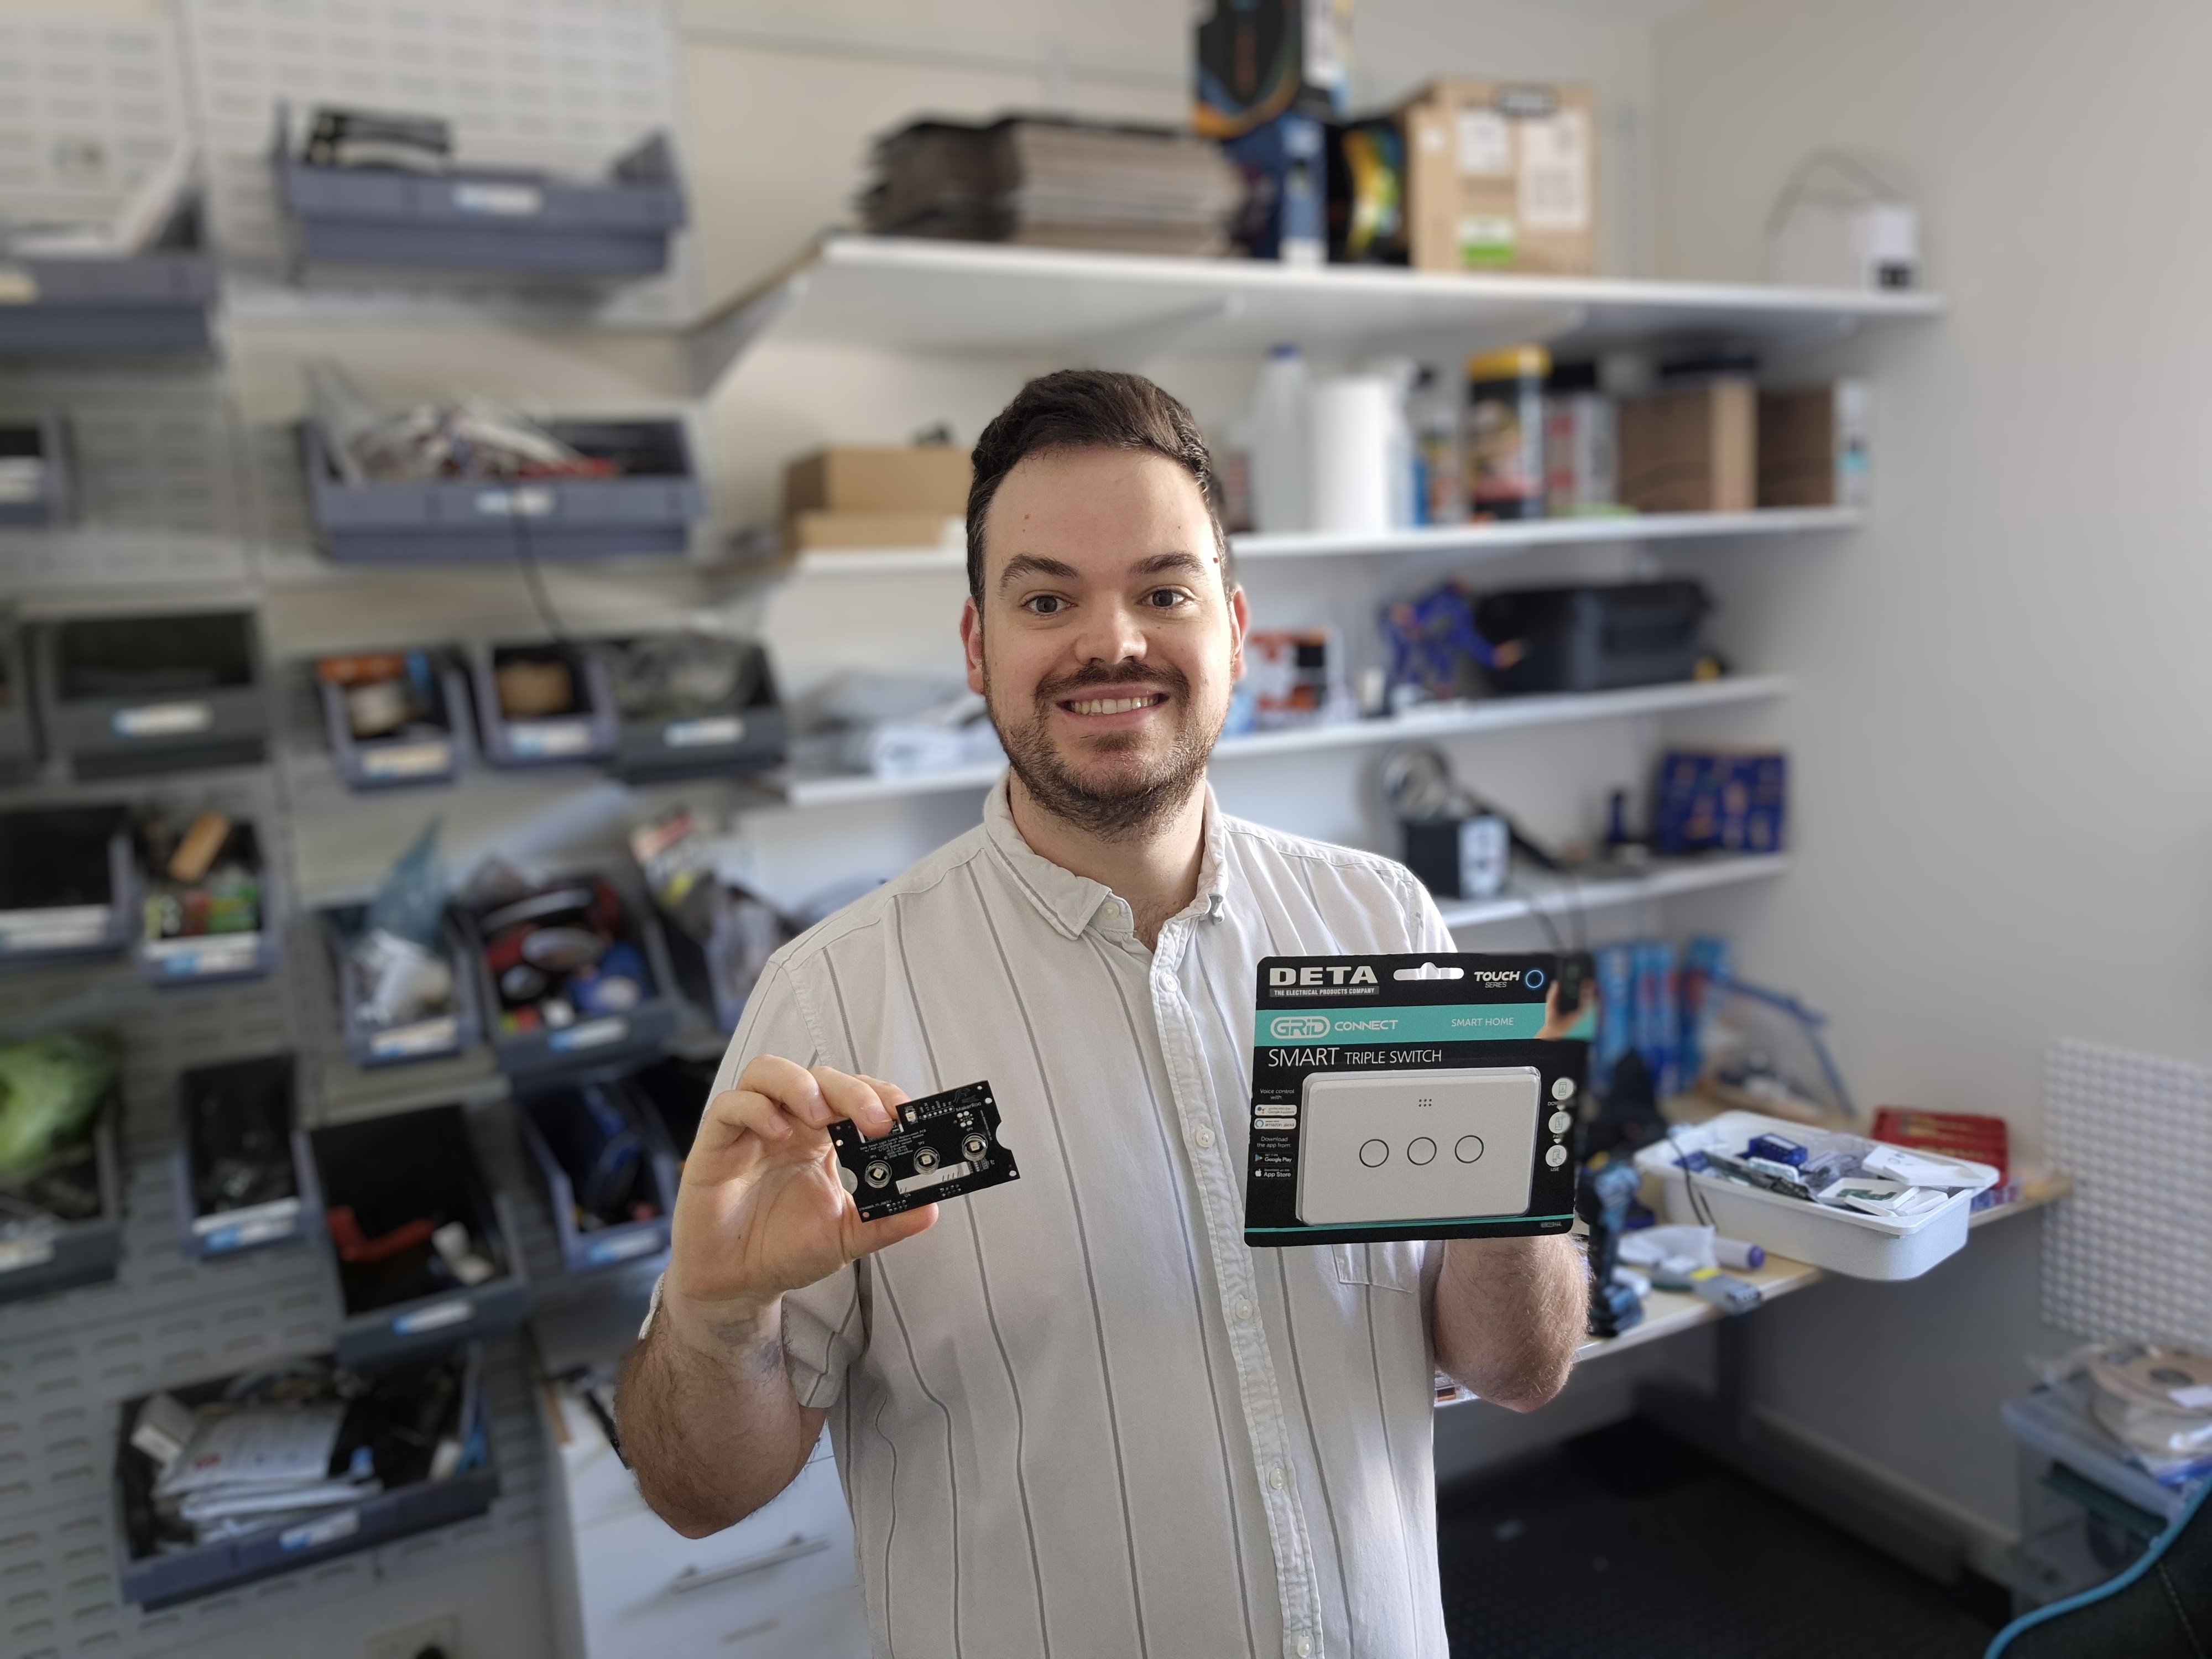
Before getting into the hardware, there’s a new About page on the site. It tells the full origin story: from the original hacked Deta switch, through the bodge wires and custom PIR PCB, to where SwitchRoo is today.
The last section sums up where I’m at right now:
Transitioning from a bench-top mod to a real product has been a massive journey. I’m deep in the weeds of electronics manufacturing, navigating EESS and ACMA regulatory standards, and scaling up for production. It’s a huge leap from hand-soldering a single board, but getting the hardware right, doing it properly, is the only way forward.
That’s an honest description of what the last few months have looked like. Worth a read if you want the full backstory.
Researching the Full Cost of Launch
Before committing to a production run, I need real numbers. Not rough estimates, actual quotes.
I’ve been working through every cost category involved in getting SwitchRoo from a finished prototype to boards in customers’ hands:
- Certification — ACMA compliance testing for the ESP32-C6 radio, including lab fees and any board changes required to pass
- Production — PCB fabrication, component sourcing, and assembly costs at multiple volume tiers
- QA — the test jig (more on that below), plus time and tooling for the QA process
- Logistics — packaging, fulfilment, and shipping
- Design for Manufacture (DFM) and Design for EMI — changes to the board required to actually survive a production run and pass testing
The goal is to land on a launch model with real confidence rather than guesswork. My strong preference is a pre-order model: take orders before committing to inventory, validate demand, and use that to fund the production run. That only works if the numbers are solid beforehand.
RFQs are out to certification labs in both Australia and China. Once those come back, I’ll have enough to set a real funding target.
New Board Revision: 4-Layer Stackup
One of the outputs of the DFM and EMI work is a board revision.
The previous prototypes used a 2-layer stackup. For a production board, that’s not good enough. Switching to a 4-layer design gives us a dedicated ground plane and power plane, which significantly improves EMI performance and gives the RF section of the ESP32-C6 a much cleaner environment to operate in. It also makes the board easier to route cleanly at production density.

This is one of those changes that doesn’t show up in a demo but matters a lot when you’re trying to pass a conducted and radiated emissions test in a lab.
Building the Production Test Jig
Every board that ships needs to be verified before it goes out. Hand-testing one board at a time isn’t viable at any real production volume, so I’m building a proper automated test jig.
The design was heavily inspired by Stephen Hawes’s production test jig for Opulo’s LumenPnP pick-and-place machine. If you’re into hardware manufacturing at this scale, that video is worth your time.
The architecture is designed to test 6 boards simultaneously from a single panel:
The Brain — A Raspberry Pi handles the high-level test logic, hosts a local web interface, and logs pass/fail results for all 6 boards to a database.
The Router — A powered USB hub inside the jig provides 6 isolated, full-speed serial connections, one per board under test.
The Controllers — Each of the 6 boards under test gets its own dedicated Unexpected Maker ProS3 handling real-time pin control and firmware flashing. No shared state, no interference between cells.
Hardware Protection — A TPS25210 eFuse protects the jig from newly manufactured boards with dead shorts. It uses an analogue comparator to cut the connection in under 2 microseconds, protecting both the jig hardware and the power supply.
Capacitive Touch Testing — The SwitchRoo buttons are capacitive, and testing them without a human finger involved is a non-trivial problem. The solution is a “ghost finger” bypass circuit: an analogue switch IC and a small ceramic capacitor that safely simulates a human touch, allowing the jig to run a full button test cycle automatically.
For the software side, I’m planning to use OpenHTF, Google’s open-source hardware testing framework. It handles the test flow and operator interface, and gives us a clean way to scan each board’s QR code, log the hardware serial number, record the full test result to a database, and print a physical pass/fail label. That paper trail matters when you’re tracking which boards passed and want to trace any field issues back to a specific unit.
This is more infrastructure than most small production runs would bother with. But if we’re shipping boards that go inside people’s walls, every single one needs to pass a real test before it leaves.
Help Shape the Launch: A Few Questions for You
Before the poll, some honest context on the trade-offs so your vote is an informed one.
There are three realistic options for how a launch could work: Kickstarter, Crowd Supply, or pre-orders directly through the MakerRoo website.
Crowd Supply is worth a mention because it’s genuinely well regarded in the electronics and maker community. It’s a curated platform, projects go through a technical vetting process before they’re listed, and the audience is serious hardware people. For a product like SwitchRoo it’s probably a better fit than Kickstarter in terms of audience overlap.
The catch for this project is fulfilment. Crowd Supply routes everything through their warehouse in Texas. For a product targeting the Australian market, that means boards would ship from Melbourne to Texas, then back to Australian customers. The economics of that don’t make sense here.
| Kickstarter | Crowd Supply | MakerRoo Website | |
|---|---|---|---|
| Audience | General / early adopters | Engineers and hardcore makers | Our existing community |
| Vetting | None | Technical review required | N/A |
| Fees | ~8-10% platform + payment | ~15-16% platform + payment | ~2-3% payment only |
| Fulfilment | Self-managed | Via their Texas warehouse | Self-managed |
| All-or-nothing | Yes | Yes | No |
| Australian fit | Fine | Poor (US warehouse required) | Best |
My preference is to run pre-orders directly through the MakerRoo website. Lower fees means a lower price for you, I keep full control over how it works, and there’s no Texas detour for Australian orders.
The honest trade-off: a platform like Kickstarter offers real backer protection. If the goal isn’t met, you’re never charged. With direct pre-orders you’re trusting me. And the all-or-nothing nature of Kickstarter cuts both ways: if the goal isn’t hit, the campaign fails cleanly and no money changes hands, but it also means SwitchRoo may not launch at all.
Where would you prefer to buy SwitchRoo?
I’ve put together a poll above, please let me know what you think! But if you have a strong opinion either way, reply to this email or start a chat on the Discord and let me know. This feedback genuinely shapes the plan.
mmWave Connector Sourcing
The mmWave variant (SR-D3-MW) uses a 24GHz presence detection module that connects to the main board via a small connector. Sourcing that connector for production has been its own challenge.
Due to the tight mechanical constraints inside the Deta housing, the mmWave module needs to sit flush directly on the main board rather than connect via a raised connector. The approach we explored was mounting via castellated edges with half-holes, essentially soldering the module directly to pads on the SwitchRoo PCB. The minimum order quantity from the supplier for a module with that configuration came back too high for where we’re at in the production volume conversation, so that’s off the table for now.
I’m currently in discussion with the supplier on alternatives. A few options are in play, and I’m waiting on responses before locking anything in. The mmWave variant stays in the launch lineup regardless. It’s a core part of what makes SwitchRoo interesting, and this is a solvable problem.
More on this once it’s resolved.
What’s Next
Get the certification lab quotes back, finalise the cost model, and confirm the production run numbers. Once that’s done, the crowdfunding target has a real basis to stand on.
The single best thing you can do to help this launch go well is to share SwitchRoo with someone who’d care about it. A mate with a home assistant setup, a local community group, a forum thread. The more people on the waitlist before launch, the more confidence I have in committing to a production run. As we get closer to launch I’ll be promoting the project more broadly through local community groups and beyond, but word of mouth from people already following along carries a lot of weight.
If you’re not on the waitlist yet, sign up here. And if you want to follow along more closely or have questions, the Discord is the best place.
Cheers, Sam.
Comments
Add a comment on Discord
New to our Discord? Join first, then look for the thread titled "SwitchRoo Update: Production Prep, a New Board Spin and Counting the Cost of Launch" in #blog-discussions. Then your comments will appear here!